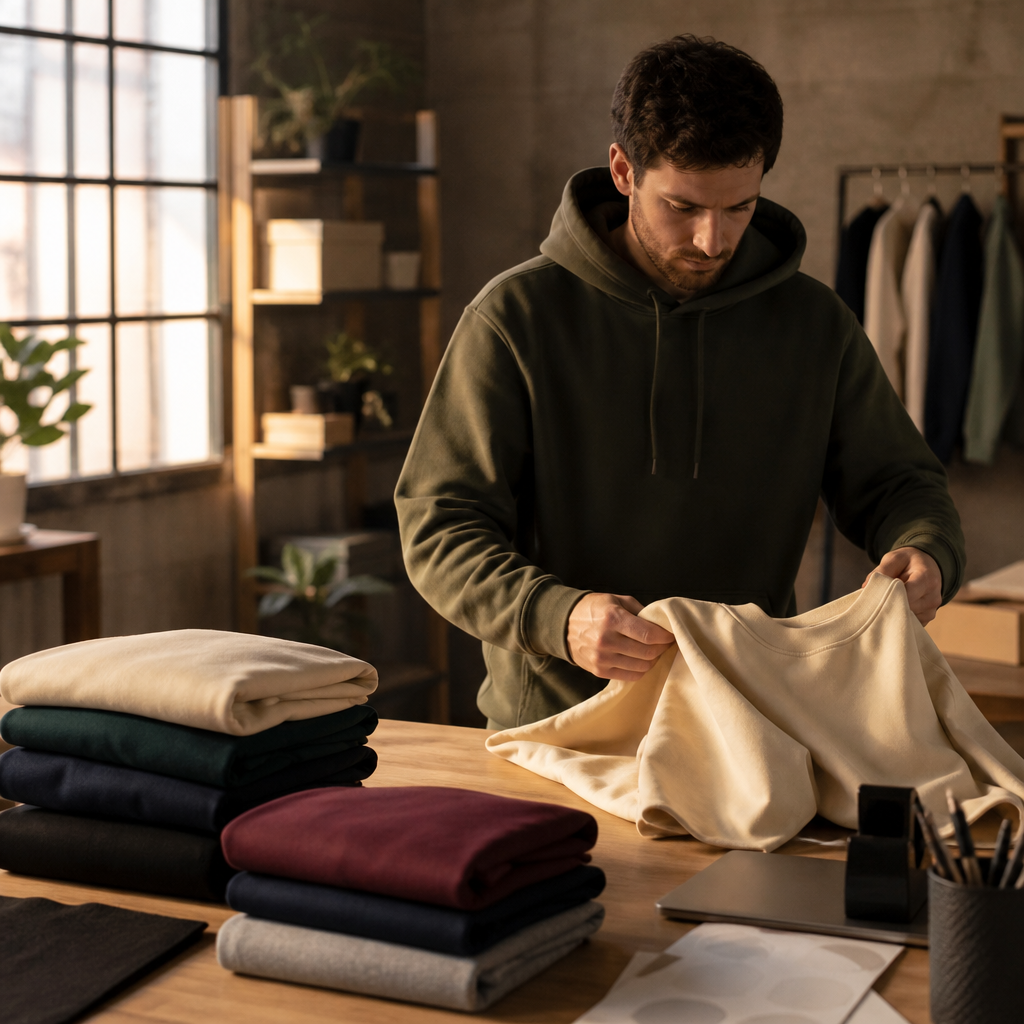
Every creator eventually hits the same moment: a line from a video, a recurring joke, or a weird little phrase from the comments takes on a life of its own. Someone asks, “Is that on a shirt?” It isn’t. And by the time you figure out how printing works, the moment has passed. This is a practical guide to getting from idea to wearable product fast — what to design, what to avoid, and how to use printed apparel as a content asset rather than a box of unsold inventory in your closet.
Why apparel works better than most merch ideas
T-shirts and hoodies have one advantage nothing else in the merch world can match: people wear them in public, repeatedly, for years. A sticker gets slapped on a laptop and forgotten. A shirt walks around a campus, a job site, or a music festival and gets seen by strangers who have no idea who you are. That is free distribution, and it is why apparel remains the first product most creators, small brands and community organizers reach for.
The second advantage is flexibility of scale. You do not need a warehouse to test an idea. Printing a handful of shirts to see whether an inside joke survives contact with the real world is a legitimate research method. If three people wear it and two strangers ask about it, you have something. If nobody comments, you learned that for the cost of a few garments instead of a few hundred.
Design rules that survive the printing process
The most common mistake is designing on a screen and forgetting that the final medium is fabric, viewed from across a room. A design that looks clever at 400% zoom can turn into visual mush at arm’s length. Some constraints worth building in from the start:
- Keep the color count tight. One-to-three-color designs are typical for printed apparel, and they tend to look sharper and bolder than gradient-heavy artwork. Limiting yourself also forces better composition.
- Test readability at thumbnail size. Shrink your design to about an inch wide. If the words are still legible and the shape is still recognizable, it will work on a chest print.
- Respect the negative space. Shirts are not posters. Leave breathing room around the artwork so it sits naturally on the garment instead of crowding the seams.
- Design for the garment color, not the white canvas. A line drawing that sings on black can disappear on heather gray. Mock up both before committing.
- Use real type, not stretched type. Horizontally squashed fonts are the fastest way to make a design look amateur.
Ideas that consistently land
Phrases beat logos for most small accounts. A stranger will not recognize your logo, but they will read a funny line. Niche-specific jokes outperform general ones — the narrower the in-group, the stronger the urge to own the shirt. Date-stamped designs work for events and tours because they become souvenirs. And “quiet” designs — a small left-chest print with no explanation — tend to get worn far more often than giant full-front graphics, which matters if your goal is visibility over time.
Treat the merch drop as content, not an announcement
A single post saying “shirts are live” is the weakest possible launch. The interesting material is everything around the product: the rejected design options, the moment the sample arrives, the unflattering first attempt at folding a hoodie. Film the sketch, film the mockup approval, film the unboxing. The product becomes the payoff of a story rather than an interruption.
Editing matters here more than production value. Merch footage is naturally slow — packages open at their own pace, and someone holding up a shirt is not inherently dynamic. If you have ever wondered how to make a slow clip feel energetic, a merch reveal is the ideal place to practice: tighter cuts, a beat-matched reveal, and a hard stop on the frame where the design is finally readable will do more for conversions than any caption.
Where printed apparel earns its keep beyond creators
Shirts and hoodies are not only a merch play. The same print run logic serves a surprising range of needs: a nonprofit kitting out volunteers for a weekend drive, a contractor putting crew names on sweatshirts so clients know who is on site, a church group preparing for a retreat, a youth team that needs matching warmups before Saturday. In each case the brief is the same — a recognizable mark, a readable design, and a hard deadline that cannot slip.
There is also a business angle. Plenty of designers have built real income by selling artwork on garments, and the practicalities of turning creative work into a home-based side business are well documented: start with small runs, let demand tell you what to reprint, and keep your overhead close to zero until a design proves itself. Apparel suits that model because the unit economics are simple and the product is easy to photograph, ship and explain.
Choosing a printer: the questions that actually matter
Most frustration with custom apparel comes from logistics, not art. Three things determine whether the experience is smooth: whether you can order a small quantity without penalty, whether you see and approve a digital mockup before anything is printed, and whether the shop will commit to a ready-by date you can plan around.
Working with a local shop solves several of these problems at once. In Phoenix, for example, Fast Shirt Factory handles custom t-shirt printing Phoenix alongside hoodies, sweatshirts and crewnecks, with no order minimums — so a single shirt and a 1,000-piece staff order follow the same process. You upload artwork or build something in their AI Design Studio, approve a digital mockup, and the job moves to printing, quality checks and delivery, with same-day and deadline-based production available on qualifying orders. They also store logos and sizing for repeat runs, which is the unglamorous feature that matters most once you are on your third reorder and cannot remember which file was the good one.
A simple first run, start to finish
- Pick one idea — the phrase or mark your audience already repeats back to you.
- Build it in two or three colors, flat, with clean type and generous margins.
- Choose two garment colors maximum for the first run. Fewer variables, fewer regrets.
- Order a small batch and wear it yourself for a week. Note what people say unprompted.
- Film the sample arriving and the design being read for the first time. That footage is your launch.
- Reprint what sells; retire what does not, without sentiment.
The creators and small brands who do well with apparel are rarely the ones with the best illustration skills. They are the ones who shipped something small, watched how people reacted, and ran it again with one thing improved. Start with a shirt you would genuinely wear, and the rest is iteration.
Read more: Where the Money Actually Goes in a Custom Luxury Home (and Which Decisions You Can’t Undo)
Building a Diamond Wardrobe: Where Color Fits Alongside Studs, Pendants and Tennis Bracelets






1 thought on “From Catchphrase to Crewneck: A Creator’s Guide to Printed Merch That Actually Sells<p class="post-updated-date">🕓 <span class="updated-label">Last updated on</span> <time datetime="2026-11-18T09:28:13+00:00">November 18, 2026</time></p><script type="application/ld+json"> { "@context": "https://schema.org", "@type": "BlogPosting", "mainEntityOfPage": { "@type": "WebPage", "@id": "https://smartsimiles.com/from-catchphrase-to-crewneck-a-creators-guide-to-printed-merch-that-actually-sells/" }, "datePublished": "2026-11-18T09:28:12+00:00", "dateModified": "2026-11-18T09:28:13+00:00" } </script>”