Most people spend months agonizing over paint colors and weeks picking a front door handle, then screw four plastic digits to the siding in ten minutes and never think about them again. That’s a shame, because house numbers sit at eye level, directly in the path of every visitor, delivery driver and passer-by. They are the smallest element on your facade and one of the few that gets read. Done well, they tie the whole entry together. Done badly, they undercut everything else you’ve invested in.
Here’s a practical walk-through of how to choose, order and install numbers that look deliberate — along with the mistakes that force people to patch holes and start over.
Start With Legibility, Not Style
Before you look at a single font, stand where a car would stop at the curb and look back at your house. That viewing distance decides your number height. As a rough working rule, figure on roughly one inch of character height for every ten feet of viewing distance, then add a size if your numbers will sit in shadow or behind landscaping. A suburban home set back 40 to 50 feet from the street usually wants numbers in the 5- to 8-inch range; a townhouse with the door almost on the sidewalk can look great with 4-inch characters.
Contrast matters as much as size. Dark bronze numbers on a dark walnut door disappear at dusk, no matter how big they are. Brushed aluminum or white on a charcoal wall reads instantly. If you love a tone-on-tone look, buy numbers that mount on standoffs so the shadow line does the work of creating contrast, and make sure a light source hits them after dark.
Choosing a Font That Matches the Architecture
Font choice is where personal taste finally gets a say, but there’s still logic to it. Geometric sans-serifs with wide apertures suit mid-century, modern and minimalist homes and read cleanly from a distance. A slightly condensed sans works well where you have a narrow pilaster or a tight stretch of trim to work with. Craftsman and traditional homes carry a modest serif or a slab face comfortably, while a script or heavily stylized numeral is best reserved for a plaque near the door where people are close enough to decode it.
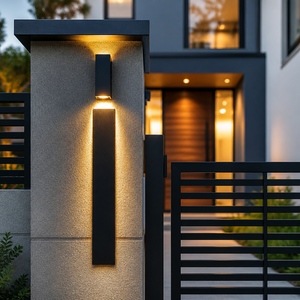
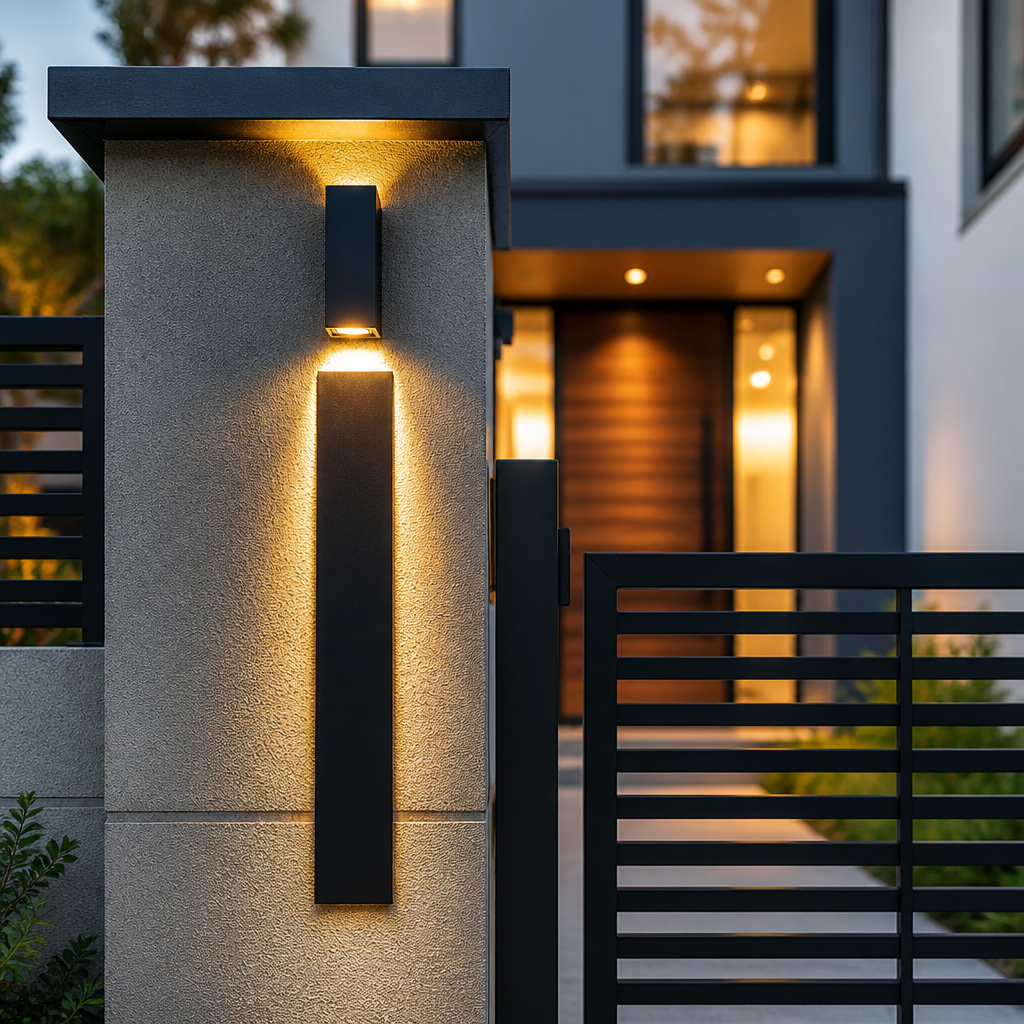
One underrated decision: orientation. Horizontal is the default, but a vertical stack can rescue an address that has nowhere else to go — beside a narrow door, on a slim column, or along a stucco pilaster. Four- and five-digit addresses in particular often sit better stacked than strung out across a wall where they fight with light fixtures and mailboxes.
Material and Finish: What Actually Survives Outdoors
The front of your house gets ultraviolet light, wind-driven rain, sprinkler overspray and thermal cycling. Thin stamped metal dents and loosens. Painted plastic chalks and fades, usually unevenly, so the digits that catch afternoon sun look nothing like the ones in shade after a few summers. Solid metal is the better long-term bet: it holds a crisp edge, keeps its profile, and the finish ages predictably rather than failing in patches.
If your home sits in a coastal or storm-prone area, treat the entry hardware as part of your broader resilience thinking. Anything surface-mounted on a facade becomes a projectile risk in high wind, which is why solidly fastened numbers with concealed hardware beat adhesive-backed plastic. Homeowners who already keep a seasonal checklist for shutters, gutters and outdoor fixtures — the same kind of planning covered in guides on how to prepare for a hurricane — should add “check the address numbers are tight” to the list. Loose standoffs are easy to retighten and very annoying to replace after the fact.
Where to Put Them
There are only a handful of good locations, and the right one depends on sightlines rather than convenience:
- Beside the front door — best for homes where the entry is visible from the street and the approach is short.
- On the garage face or above the garage — strong choice for deep setbacks and homes where the garage dominates the facade.
- On a fence, gate or entry wall — useful when mature planting hides the house itself.
- On a freestanding or mounted plaque — the answer for textured surfaces like heavy stone, rough brick or lap siding where individual numbers won’t sit flat.
- On the mailbox or curb — a supplement, not a substitute, and worth doing if your street has poor lighting.
Check your location at three times of day before you drill. A spot that looks perfect at noon can sit in total shadow at 7 p.m., which is exactly when people most need to find you.
Ordering Custom Numbers Without Guesswork
This is where a specialist earns its keep. Buying off a big-box peg hook means accepting whatever height, font and finish happens to be in stock, and then improvising the layout yourself with a tape measure and hope. Ordering to spec means you pick the character height, the font, the finish and the orientation, and you get a layout that was planned rather than eyeballed.
If you want that level of control, Modern House Numbers is a family-run workshop that has been precision-cutting custom house numbers, letters, address plaques, welcome signs and mailbox decals from solid recycled aluminum in Tucson, Arizona since 2008. Everything is made to order in curated fonts, finishes, heights and orientations, so the modern address numbers you receive are sized for your facade rather than for a generic one, and number, letter and plaque purchases include a free personalized full-scale drilling template, step-by-step instructions and concealed hardware. There’s a QuickShip range for faster orders, curb stencils and mailbox decals for the rest of the address, a trade program for designers and builders, and bespoke signage work for projects that need something outside the standard menu.
Installing Them Properly
A full-scale paper template changes this job from fiddly to straightforward, because the spacing and hole positions are already resolved. The sequence that works:
- Tape the template in place and step back to the curb to confirm height, centering and alignment with the door or a trim line. Adjust now, not after drilling.
- Mark through the template with an awl or nail set so the bit can’t wander.
- Match the bit and anchor to the substrate: masonry bit plus sleeve anchors for brick, stucco and block; a pilot hole into solid wood framing or blocking for siding; always drill into mortar joints rather than the face of a brick where you can.
- Dry-fit the standoffs before committing, then set the numbers and snug the hardware without over-tightening.
- Seal around fasteners on stucco or masonry with a small bead of exterior sealant to keep water out of the hole.
If you’d like to see the process illustrated end to end, including tool choices and layout tricks, Family Handyman’s walkthrough on installing modern house numbers is a solid companion to whatever instructions come in the box.
Small Project, Outsized Return
Of all the curb-appeal jobs available to a homeowner, this one has the shortest list of excuses: it takes an afternoon, needs a drill and a level, and changes the first impression of the house permanently. Measure the viewing distance, pick a height that reads from the street, choose a finish that contrasts with whatever it’s mounted on, light it, and fasten it into something solid. Then go stand at the curb at dusk and see whether a stranger could find you on the first pass. That’s the only test that matters.
Read more: From Catchphrase to Crewneck: A Creator’s Guide to Printed Merch That Actually Sells
Where the Money Actually Goes in a Custom Luxury Home (and Which Decisions You Can’t Undo)
Building a Diamond Wardrobe: Where Color Fits Alongside Studs, Pendants and Tennis Bracelets